Create Zone
1. This is the first part of creating a new zone for management within the center.
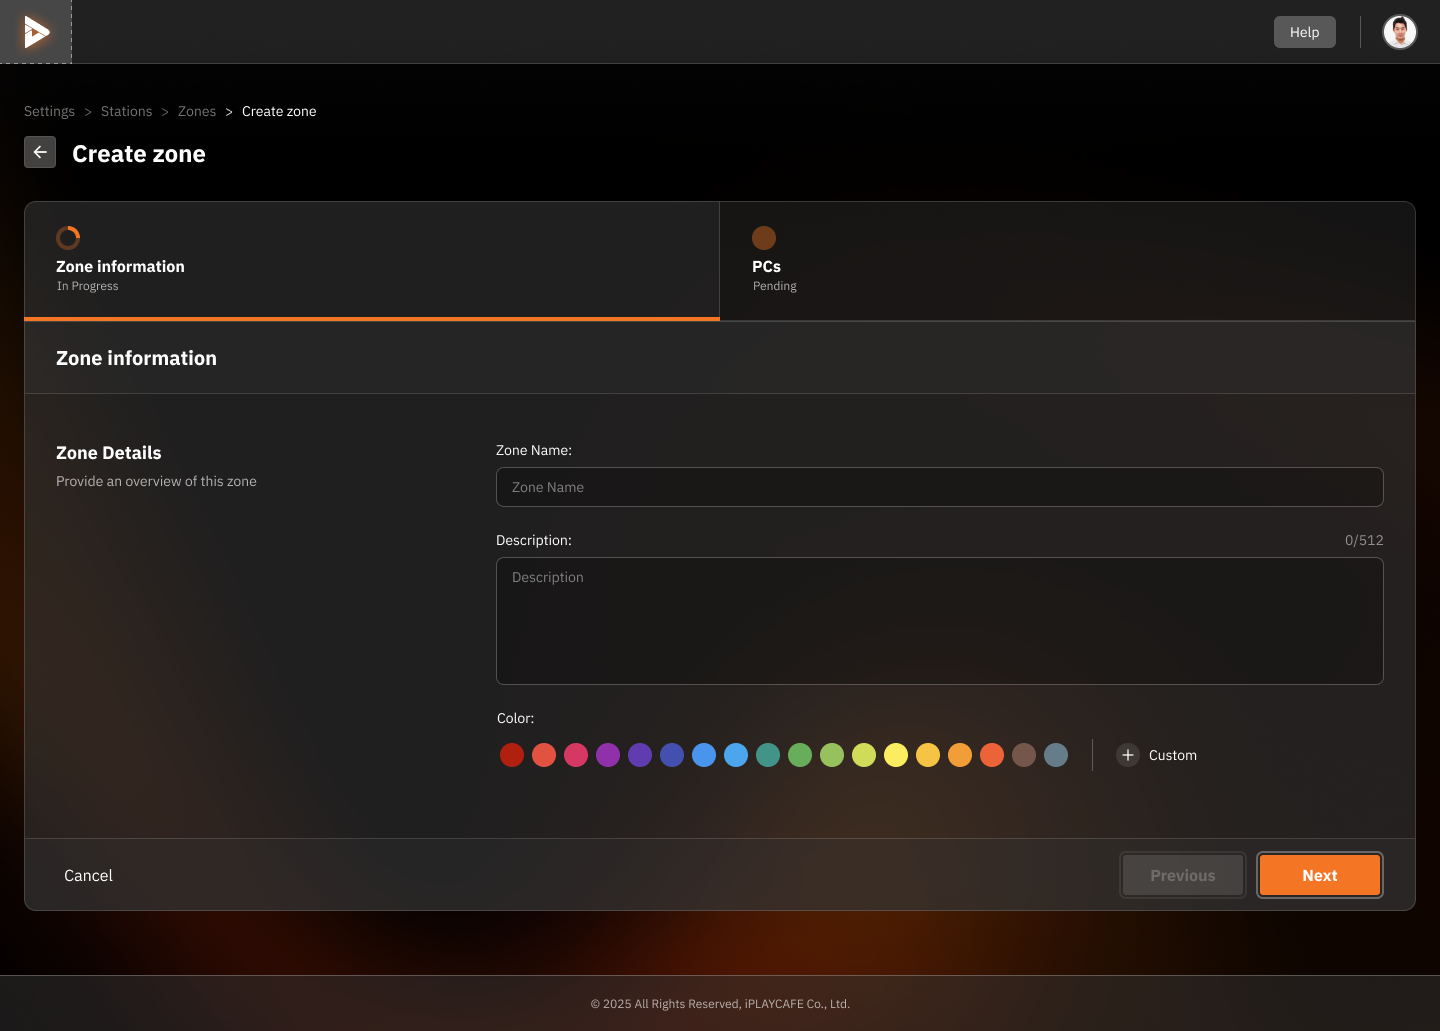
1. Zone Information
Zone Name: A field to enter the name of the zone you want to create (e.g., Standard, VIP, etc.).
Description: A field to describe the details of the zone (you can add a description that helps specify the purpose or function of the zone).
Color: Color options to specify and distinguish each zone in the system (you can choose from predefined colors or create a custom color).
2. Navigation
Previous: Use to go back to the previous step (if any).
Next: Press to go to the next step, which may involve assigning computers (PCs) to this zone.
2. This is the step of selecting computers (PCs) to be assigned as part of the newly created zone.
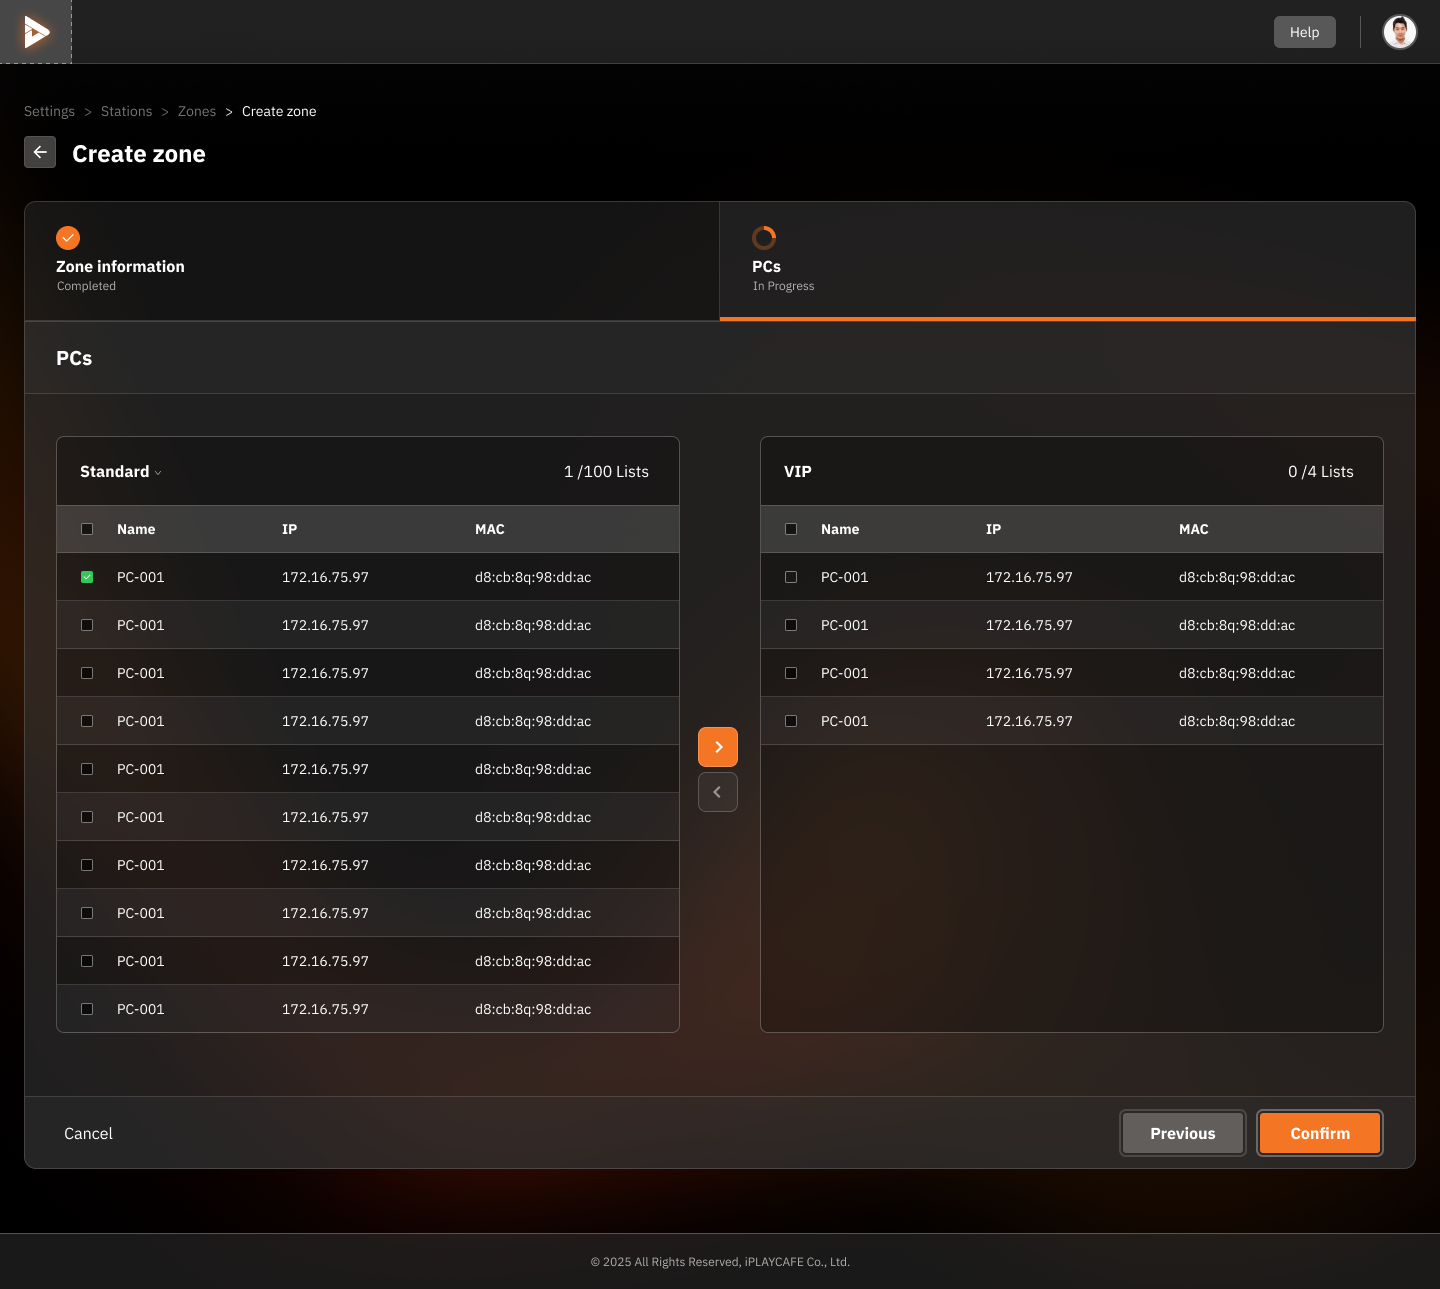
1. PC Selection
Standard Zone and VIP Zone:
Displays a list of computers that can be selected to add to the zone being created.
Fields displayed:
Name: The name of the machine (e.g., PC-001)
IP: The IP address of the machine
MAC: The MAC address of the machine
2. Actions
Checkbox: Used to select the computers to add to the zone.
Arrow Buttons:
→: Moves the selected machine from the current zone list to the new zone.
←: Moves the machine back from the new zone to the original zone.
Pagination: Used to view all the machines if there are more than are displayed on a single page.
3. Navigation
Previous: Use to go back to the previous page to edit zone information.
Confirm: Press to confirm the settings and create the new zone.