New Center
1. Terms & Conditions
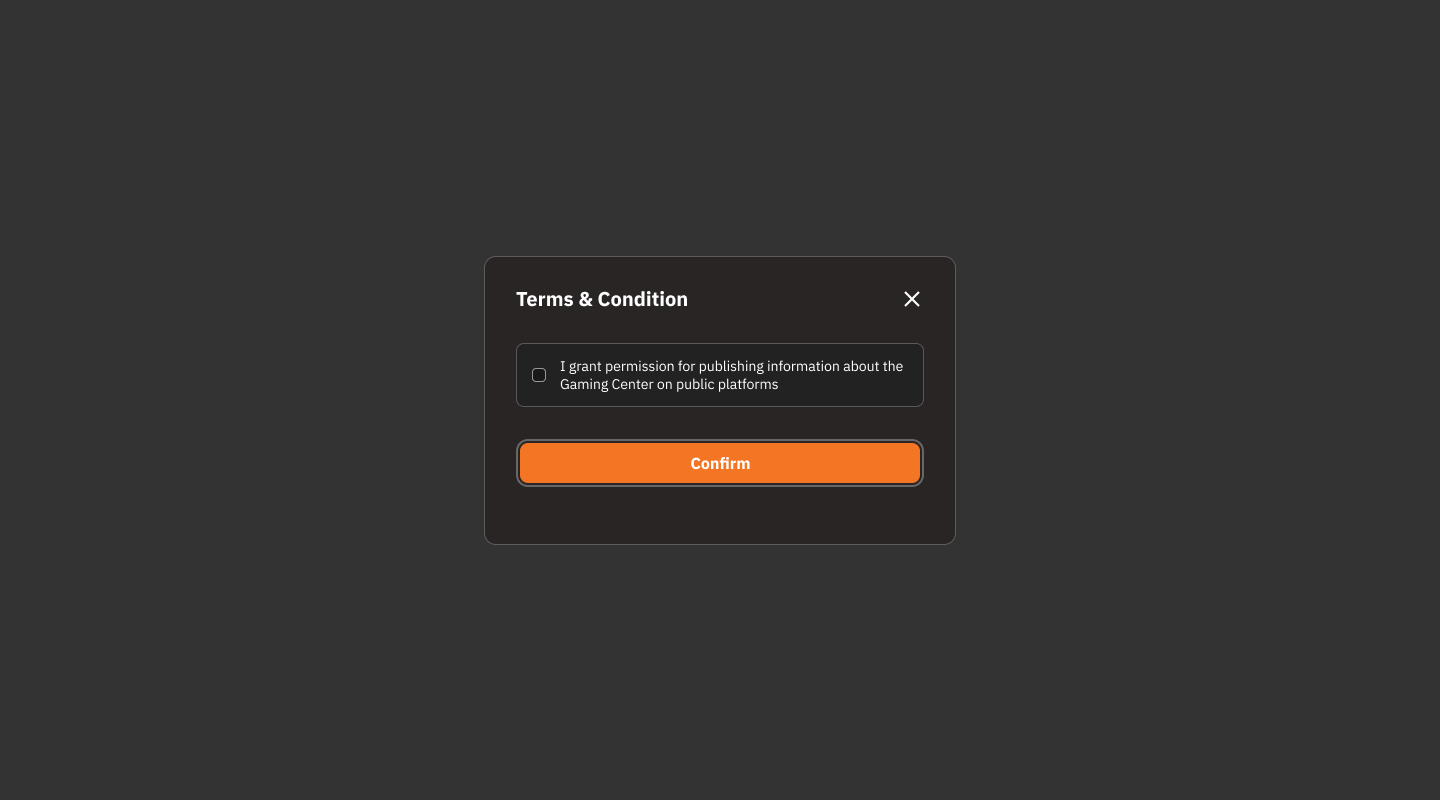
Review Message:
Read the terms and conditions displayed on the screen (e.g., "I grant permission for publishing information about the Gaming Center on public platforms").
Accept Terms:
Check the box next to "I grant permission for publishing information about the Gaming Center on public platforms" to accept the terms of use.
Confirm Acceptance:
Click the "Confirm" button to save your acceptance of the terms and proceed.
Cancel or Exit:
If you do not want to accept the terms or want to exit this window, click the "X" icon in the upper right corner.
2. Center Information
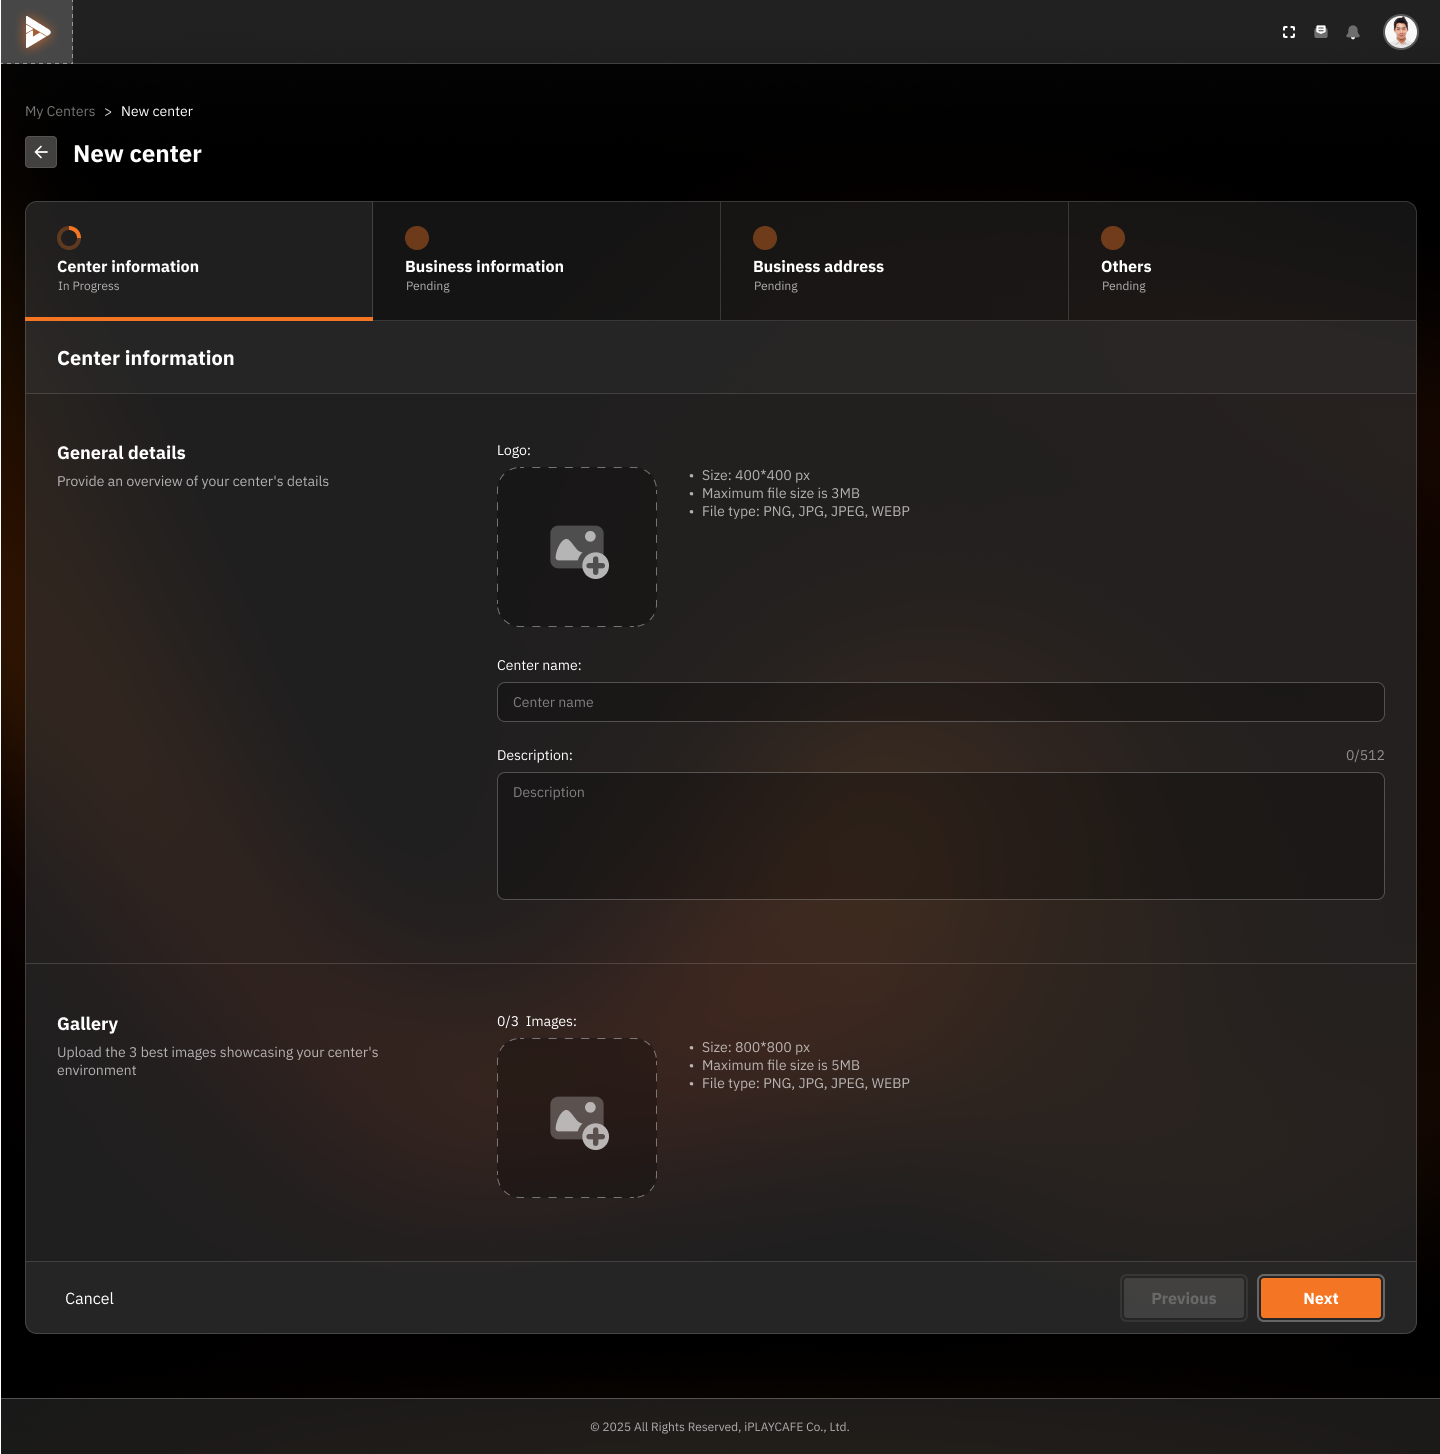
General Details:
Logo:
Click the image icon in the "Logo" field to upload the center's logo:
Image size: 400x400 px
Maximum file size: 3 MB
Supported file formats: PNG, JPG, JPEG, WEBP
Center Name:
Enter the name of the center in the "Center name" field.
Description:
Add a description about the center (up to 512 characters).
Gallery:
Click the image icon in the "Gallery" field to upload images of the center (up to 3 images):
Image size: 800x800 px
Maximum file size: 5 MB
Supported file formats: PNG, JPG, JPEG, WEBP
Next Steps:
When information is complete:
Click the "Next" button to proceed to the next step.
To cancel center creation:
Click the "Cancel" button to exit the screen.
3. Business Information
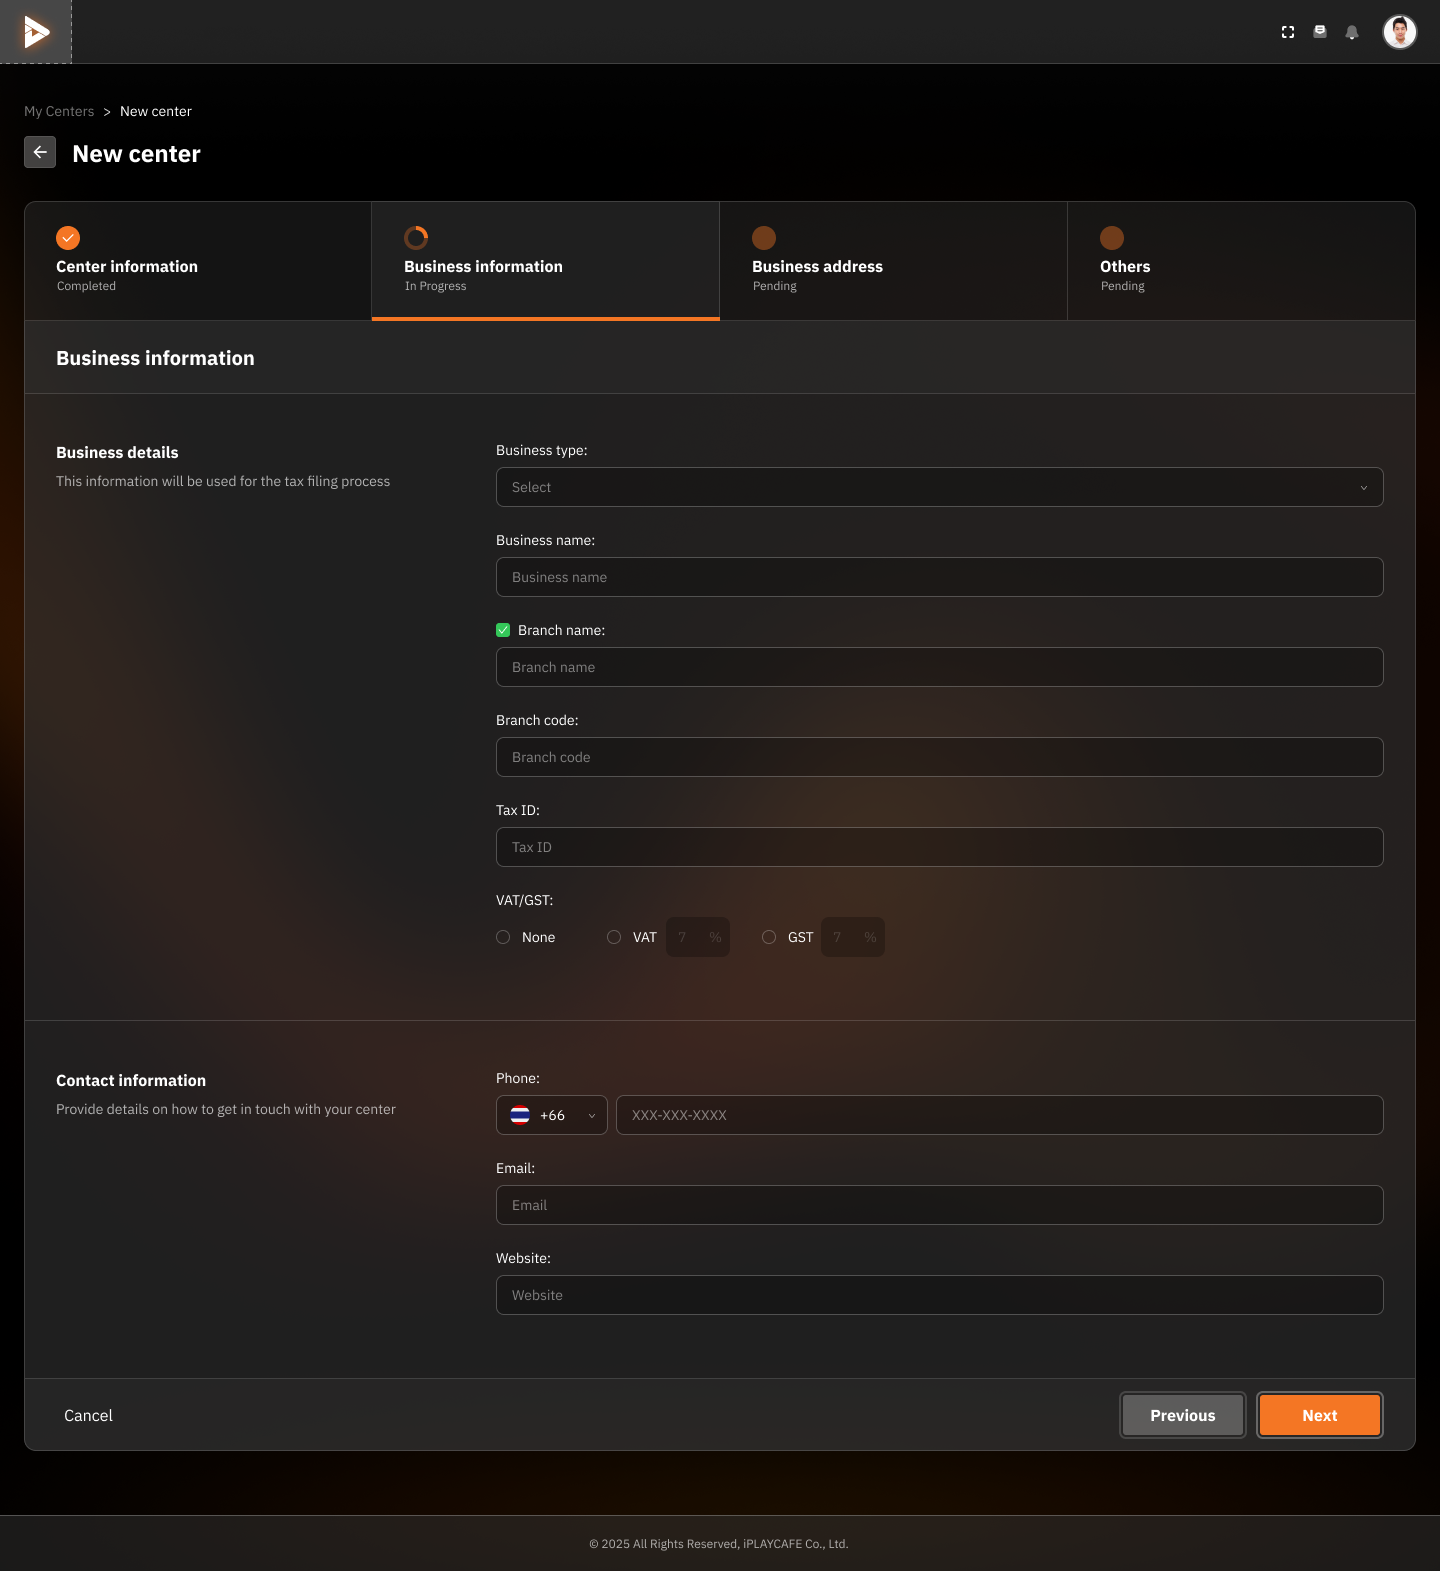
Business Details:
Business Type:
Click the "Select" menu and choose your business type from the list.
Business Name:
Enter the business name in the "Business name" field.
Branch Name:
If your business has branches, enter the branch name in the "Branch name" field (if applicable).
Branch Code:
Enter the branch code in the "Branch code" field (if applicable).
Tax ID:
Enter the tax identification number in the "Tax ID" field.
VAT/GST:
Select the type of tax:
None: No tax
VAT: Select VAT and specify the percentage.
GST: Select GST and specify the percentage.
Contact Information:
Phone:
Select the country code (e.g., +1 for the United States).
Enter the business phone number in the format XXX-XXX-XXXX.
Email:
Enter the contact email for the business in the "Email" field.
Website:
If your business has a website, enter the website URL in the "Website" field.
Next Steps:
When information is complete:
Click the "Next" button to proceed to the next step.
To go back to the previous page:
Click the "Previous" button.
To cancel center creation:
Click the "Cancel" button to exit the screen.
4. Business Address
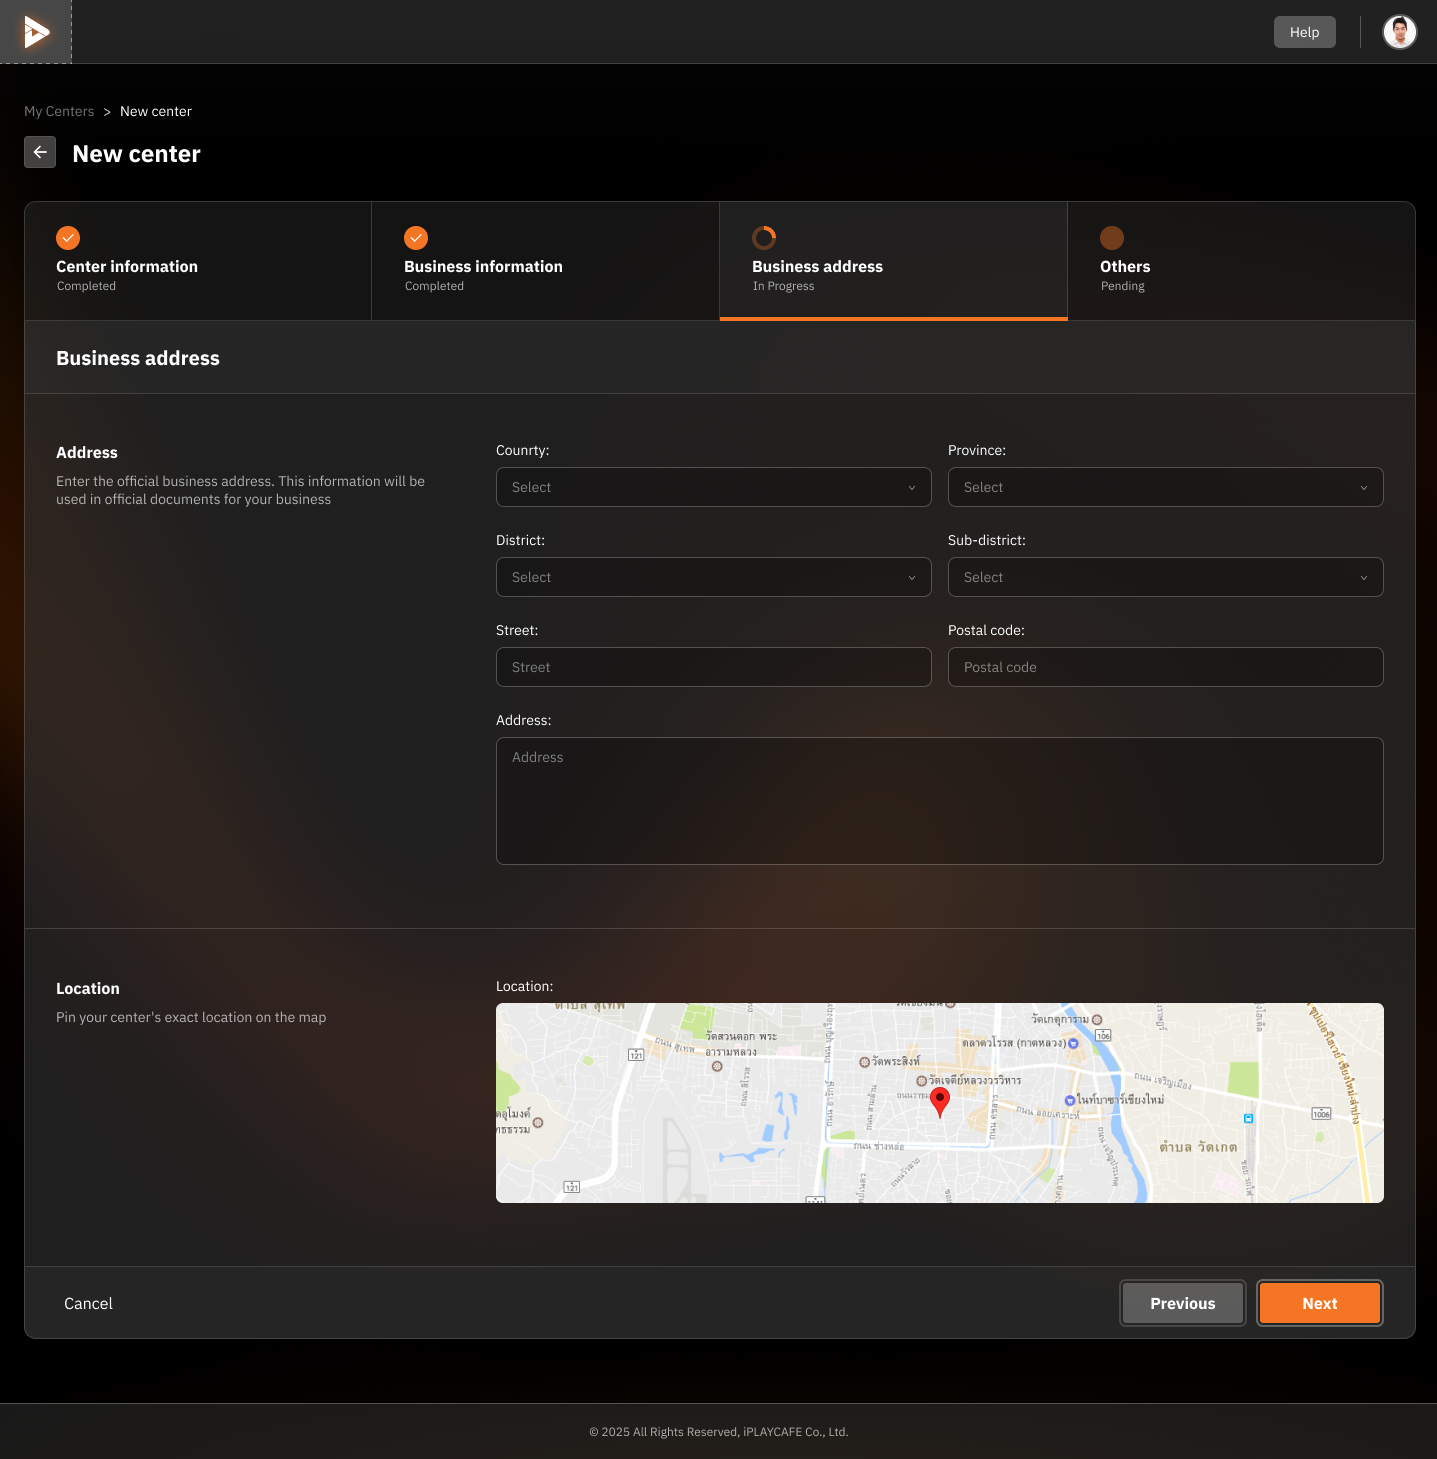
Address Details:
Country:
Click the "Select" menu and choose the country where the center is located.
Province:
Choose the province where the center is located from the "Province" menu.
District:
Choose the district where the center is located from the "District" menu.
Sub-district:
Choose the sub-district where the center is located from the "Sub-district" menu.
Street:
Enter the street name where the center is located in the "Street" field.
Postal Code:
Enter the postal code of the center's location in the "Postal code" field.
Address:
Enter the full address details in the "Address" field.
Map Location:
Location:
Use the map displayed to pinpoint the location of the center.
Click on the location on the map to specify the correct position.
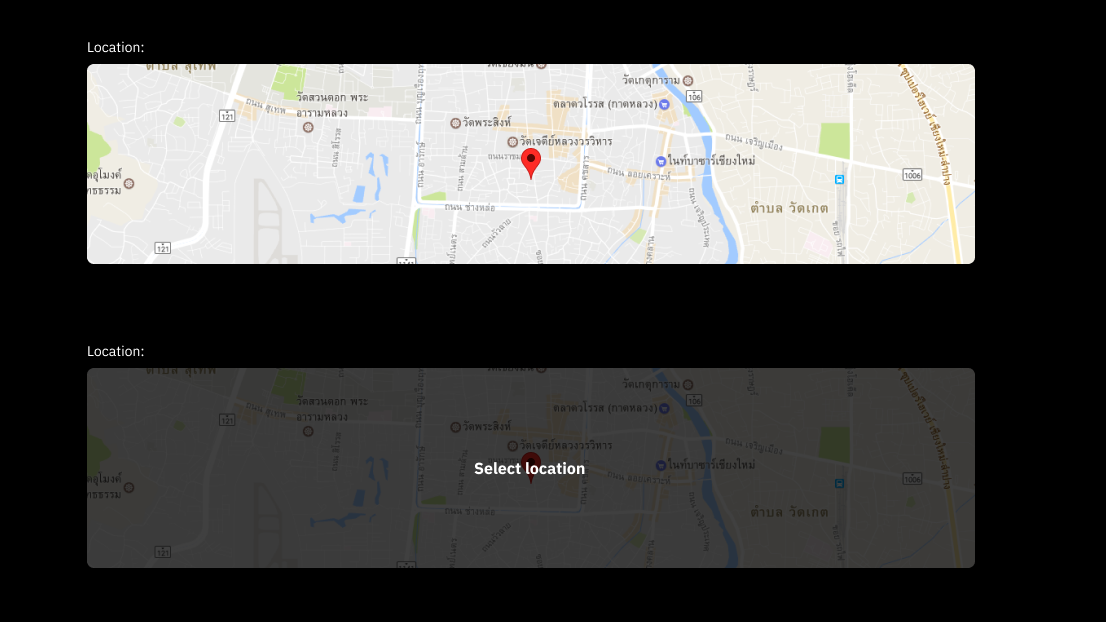
Instructions:
Open Location Page:
This section involves pinning the location of the center on the map.
Pin Location:
Use the mouse to click on the location on the map that corresponds to the location of your center.
A red pin will appear in the location you selected to confirm.
Edit Location (If Needed):
If the location is incorrect, click on a new location on the map to move the pin.
Confirm Location:
When you are satisfied with the location, click the "Select Location" button to confirm the location and continue.
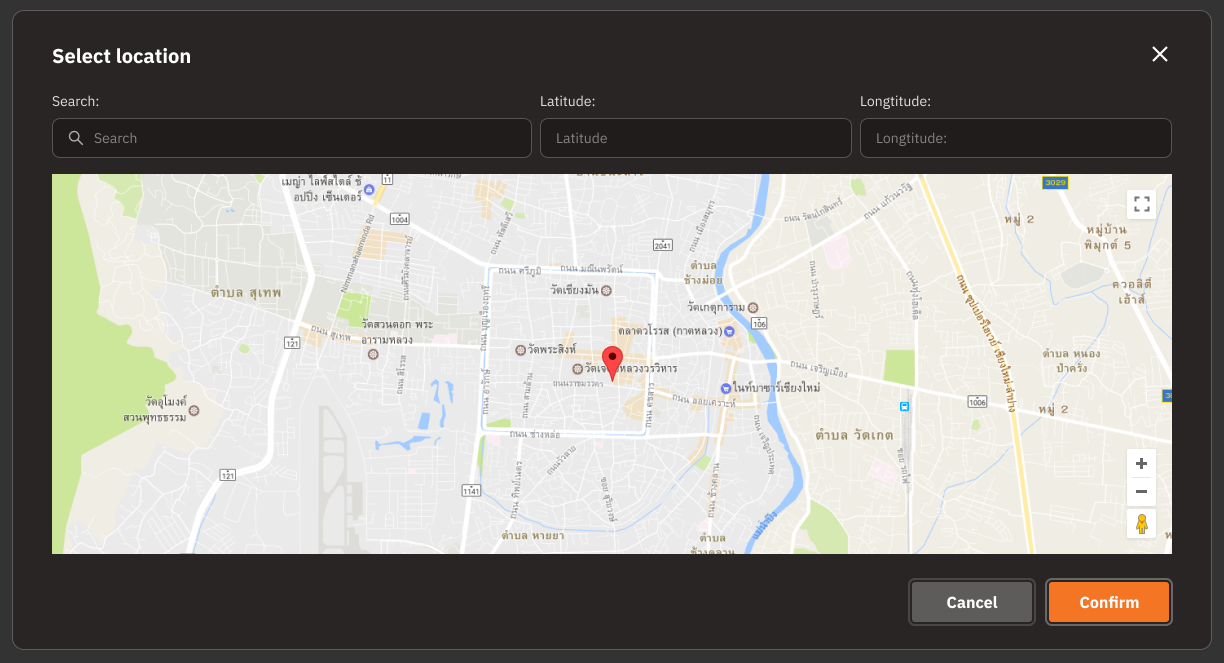
Select Location
Instructions:
Searching for a Location:
Search:
Use the "Search" field at the top of the map to search for the desired location.
Type the name of the place or address and press Enter to search.
Latitude and Longitude:
If you know the latitude and longitude coordinates:
Enter the coordinates in the "Latitude" and "Longitude" fields at the top of the map.
Pinpointing a Location on the Map:
Select Location:
Click on the map at the location where you want to place the pin.
A red pin will appear at the location you selected.
Adjust Location:
If the location is incorrect, you can click on a new location on the map to move the pin.
Confirming the Location:
Confirm Location:
When you are satisfied with the selected location, click the "Confirm" button to save the location and continue.
Cancel Location Selection:
If you want to cancel the location selection, click the "Cancel" button to return to the previous page.
Next Steps:
When information is complete:
Click the "Next" button to proceed to the next step.
To go back to the previous page:
Click the "Previous" button.
To cancel creating the center:
Click the "Cancel" button to exit the screen.
5. Others
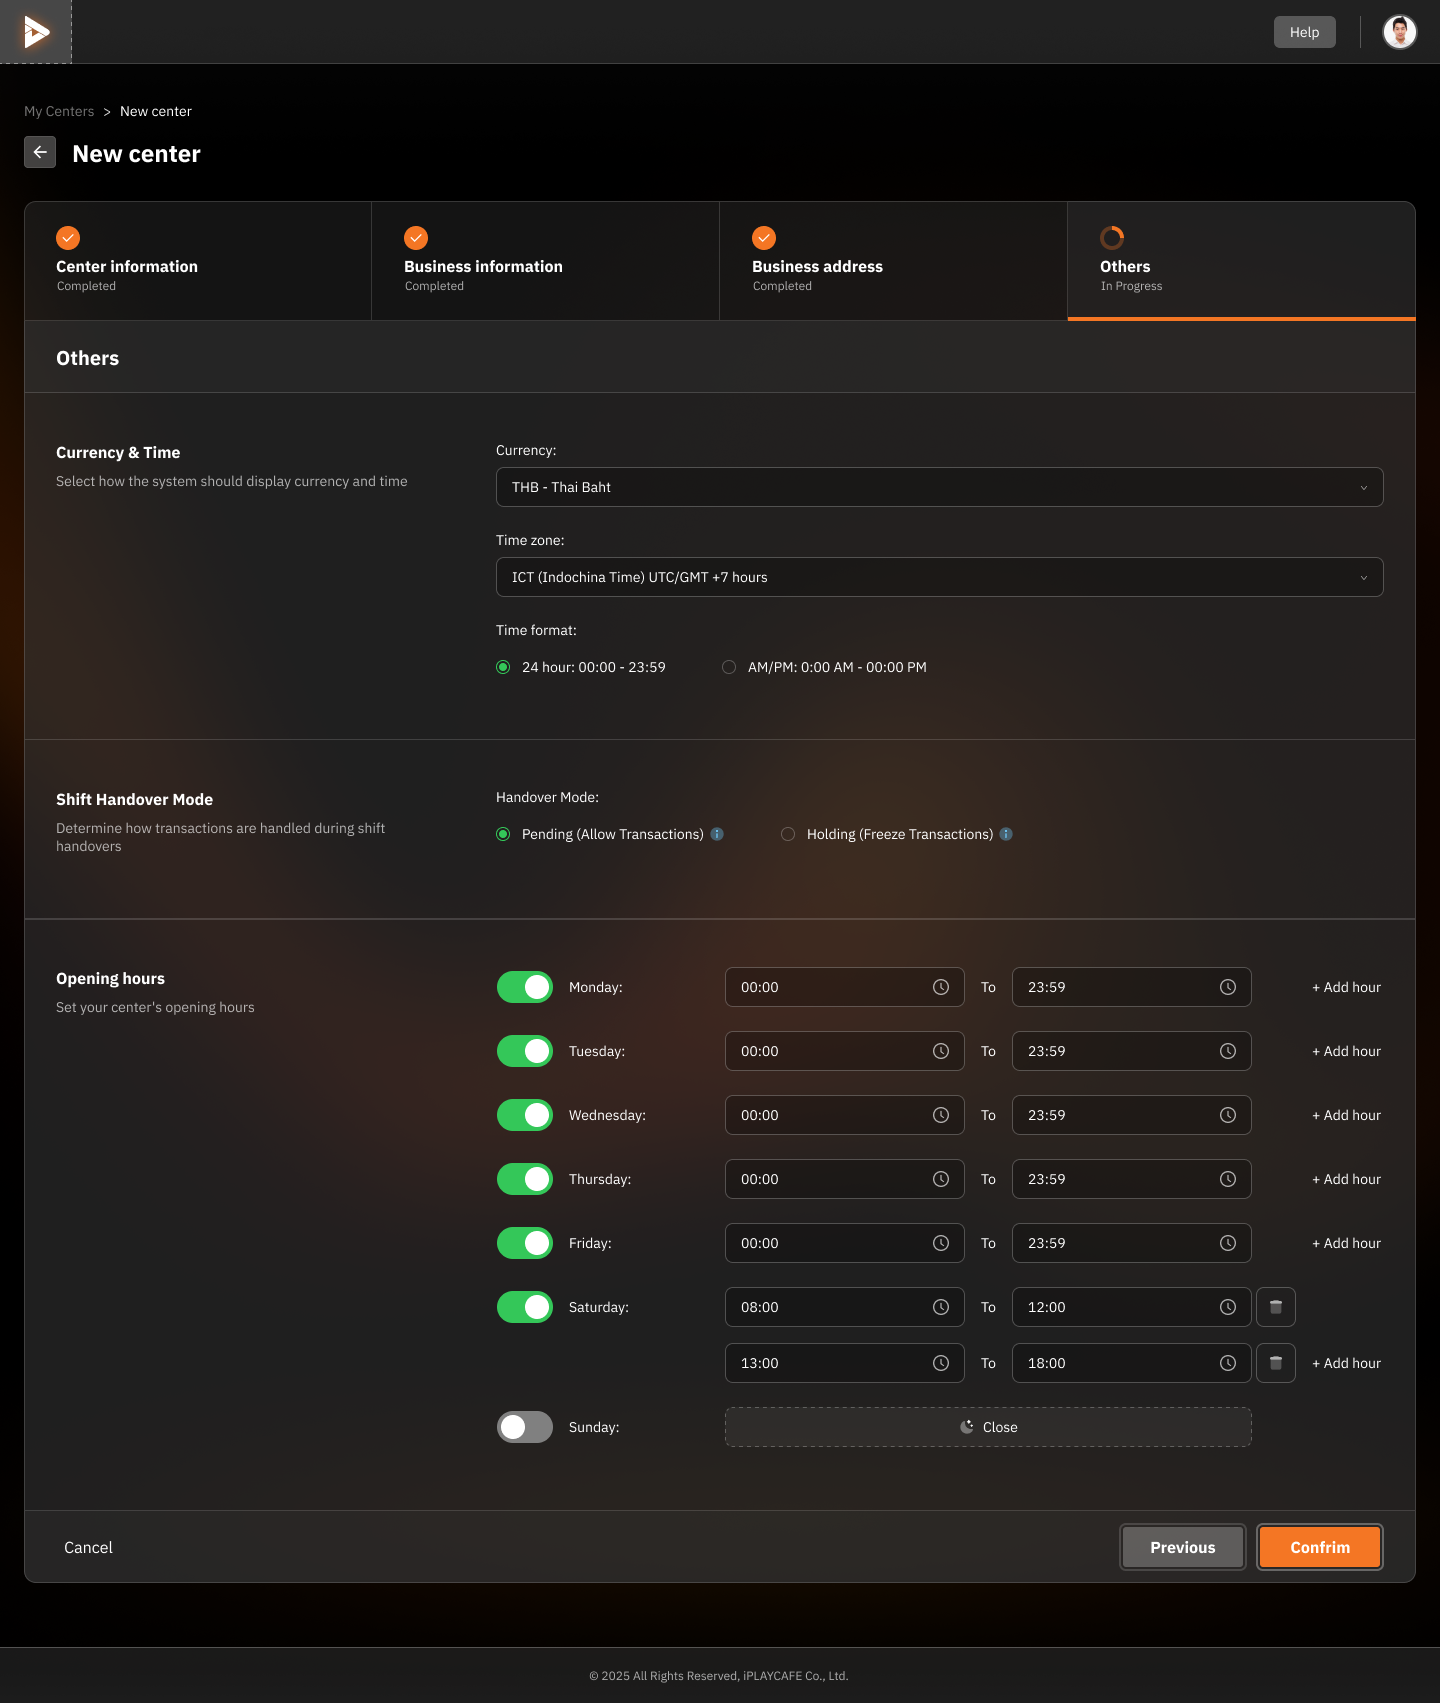
Currency & Time:
Currency:
Click the "Currency" menu to select the currency your center uses (e.g., THB - Thai Baht).
Time Zone:
Select the time zone where your center is located (e.g., ICT (Indochina Time) UTC/GMT +7 hours).
Time Format:
Choose the time format:
24 hour (00:00 - 23:59)
AM/PM (00:00 AM - 00:00 PM)
Shift Handover Mode:
Handover Mode:
Choose the mode for shift handover:
Pending (Allow Transactions): Allow transactions during the shift change.
Holding (Freeze Transactions): Stop transactions during the shift change.
Opening Hours:
Set Opening Hours:
For each day of the week (Monday - Sunday):
Open or close the opening hours with the switch button.
Specify the opening and closing times in the "From" and "To" fields.
Add other time slots (if any) with the "+ Add hour" button.
Example:
Monday to Friday: 00:00 - 23:59
Saturday: 08:00 - 12:00 and 13:00 - 18:00
Sunday: Closed (switch button is off)
Next Steps:
Confirm Information:
When all information is complete, click the "Confirm" button to save and create the new center.
Go Back:
If you want to go back to the previous page to edit, click the "Previous" button.
Cancel Creation:
Click the "Cancel" button to exit the screen without saving the information.